
When you think about Disney World, drinking around the world is probably not one of the first things that pops into mind, but this has been something that’s been on my bucket list for a while. It seemed like serendipity when I had a conference scheduled in Orlando just right after my birthday. After a bit of convincing, one of my besties and I decided to tackle on the challenge! Based on our experience, I’ve put together a list a tips and tricks on how to survive your first Epcot bar crawl.
So if you are over the age of 21, here’s a guide on “How to drink around the world at Epcot”. Let me know how it goes!

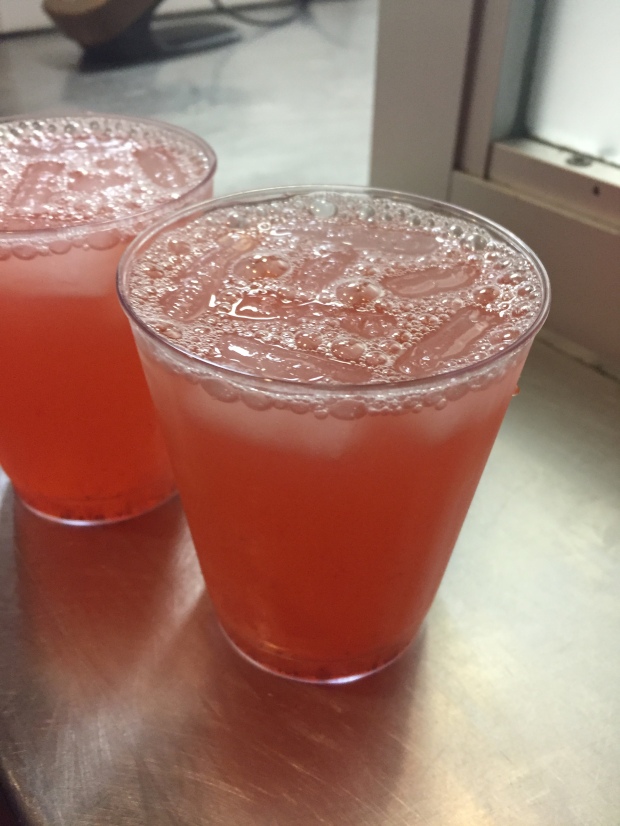
Cucumber Margarita – Tequila, orange liqueur, caramel iced pineapple juice, fresh basil, cucumber and agave nectar, served on the rocks.
How to drink around the world at Epcot
Do your research
Do your research and get a feel for the different drink options and prices. Drinking around the world is not an easy task. We’re talking about 11 countries where you have the option to stop and drink (more if you go during the food and wine festival). Doing your research ahead of time will help you to better prepare your liver and your wallet. Also, don’t forget to research the park hours. Park hours are seasonal and vary by day. This challenge is a full day event so you will want to pick a day with longer park hours (maybe even extra magic hours) to fully take advantage of the time.

Be prepared to pay
Prepare your wallet! Admission to the park is currently set at $97 USD/per person (plus taxes) and drinks run an average of around $12 USD /per drink. These are average drink prices in California, but they may not be typical prices where you are from! Don’t forget that even though this is a bar crawl, it is a full day event so you need to eat throughout the day. So make sure to prepare for the various expenses in addition to extra spending money for snacks and souvenirs.

Map out your game plan
Map out your game plan taking into consideration the park hours and how many countries you plan to visit. The most important decision will be where to start your day. Some people like to start outside the park, while others suggest starting at the Tequila Cavern in Mexico. I found this article from Thrillist to be very helpful when mapping out our strategy: Epcot Bar Crawl. We pretty much started in Mexico, and skipped every other country, doing two full loops from there.
Team Gear
I am telling you, people do not take this challenge lightly. The only reason I became aware of the bar crawl at Epcot, was from observing groups of people wearing team shirts referencing the challenge. Depending on the size of your group, you may either want to coordinate outfits or order custom shirts. Since it was just myself and the bestie, we opted for coordinating shirts. That seemed to suffice. 🙂

#squadgoals
Day of Gear
Pack a hat, sunscreen, snack bars, camera, and most importantly a water bottle. A small messenger bag or backpack is perfect for carrying all of your essentials plus any souvenirs you may buy.

Celebratory Button
Don’t forget to pick up your celebratory button when you arrive at the park! Birthday Button, Anniversary, Celebration, whatever the occasion, celebratory buttons are an easy conversation piece.

Have fun!
Just remember to pace yourself and have fun. Don’t feel pressured to complete the 11 country challenge. Eleven countries is a daunting task, especially if you are not used to drinking that much. Just go with a plan in mind and an objection of having fun. When else are you going to have an opportunity to drink in more that one country on the same day?


 Have you ever taken on the challenge?
XOXO
Follow me on Instagram!
![]()


 STEP 2: CONDITION
 STEP 3: DEEP CONDITION
 STEP 4: MOISTURIZE
 To say that I have thick hair would be an understatement. As you can see from my photos, my hair is extremely thick, dry, and curly. It basically does whatever it wants when given the opportunity. That’s why feel it’s so important to maintain a regular maintenance routine in order to tame the hair beast!
