OOTD | Nashville Hot

With all this talk about the upcoming eclipse, I imagine that half the country is making their way down to Nashville for a first class seat!  That’s where I hear you’re supposed to be able to have the best view, since Nashville is one the major cities within the path of the eclipse.  Not to worry if you miss it though.  At least you won’t have to wait another 30 years again, since the next one is expected in only 7.  😉

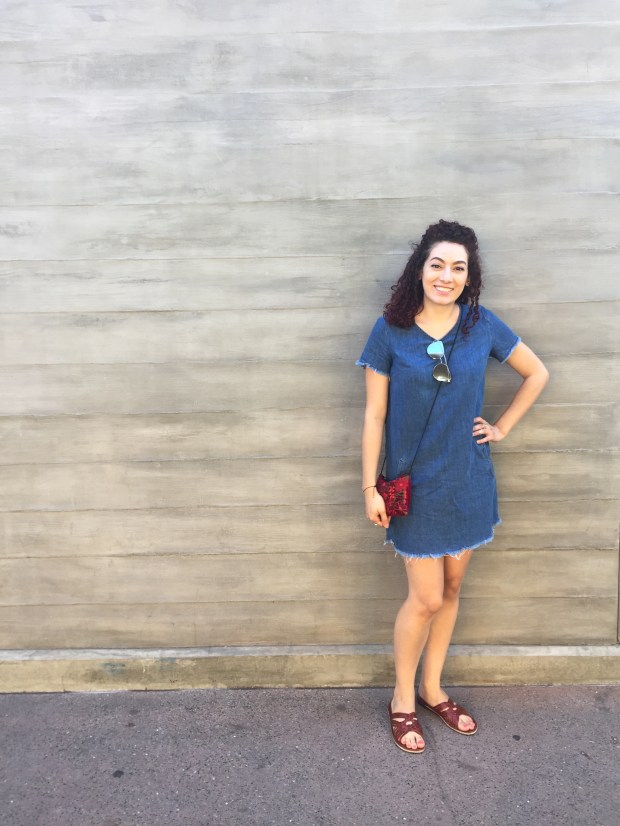
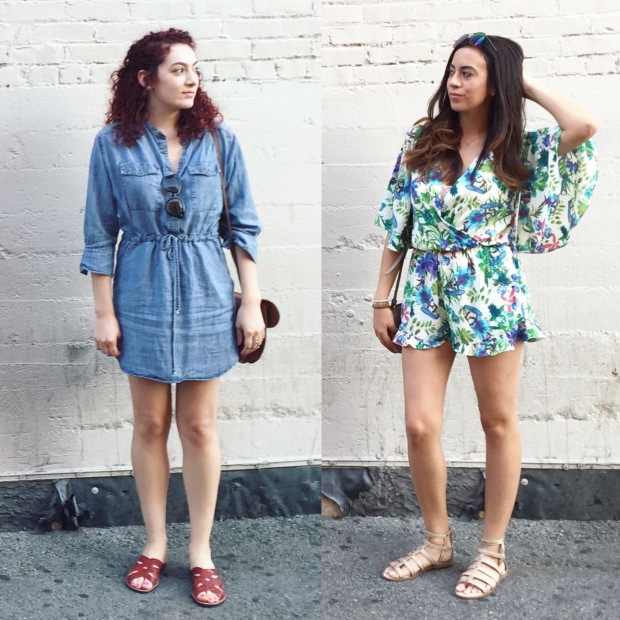
Well, if you are one of the lucky few that’ll get to experience the eclipse in Nashville, here is an outfit inspiration from my last trip down there.  I was actually lucky enough to spend the 4th of July in the heart of Music City, and it was a complete blast.  The chicken was hot and the days were even hotter!

Nashville Hout Outfit

But no matter where you end up, remember to protect your eyes!  Even if you think your sunglasses are cute, I’ve read that you need special protective shades if you want to watch the eclipse.

Nashville Hot Outfit

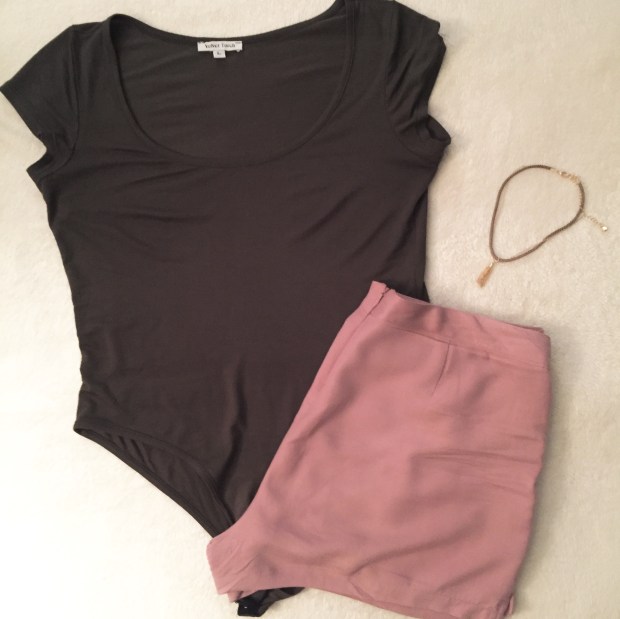
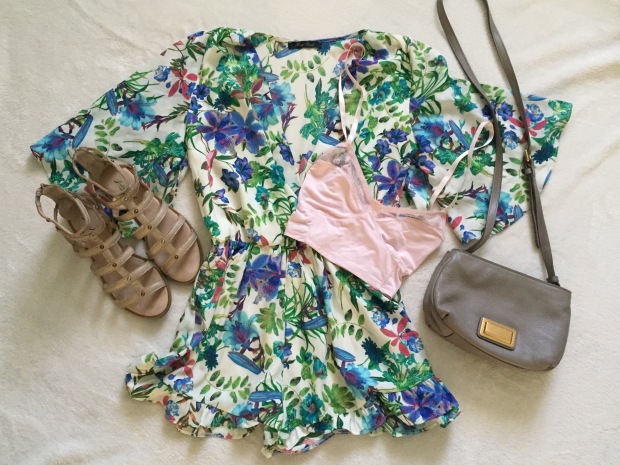
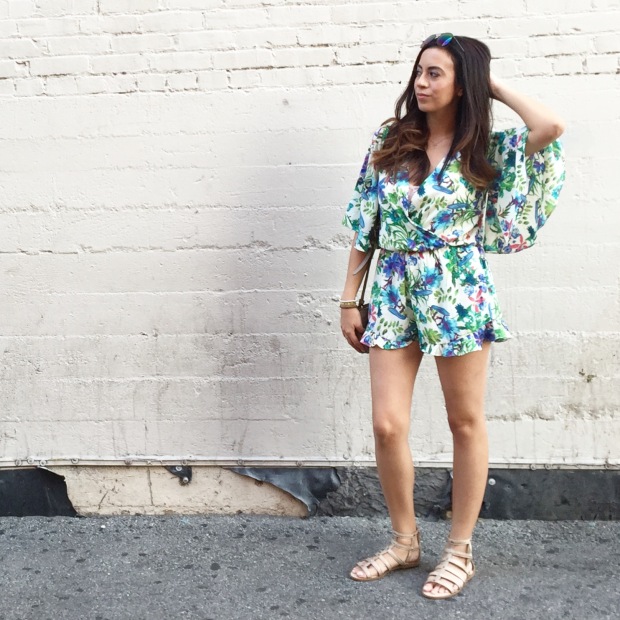
This top was perfect for the summer heat.  The cut is loose with swing sleeves and doesn’t cling to your body.  Check out my DIY post to see how I updated the front ties.

Hippie Top

Cold shoulder top – normally not this wrinkled 🙂

IMG_2690

Blue purse and sunglasses

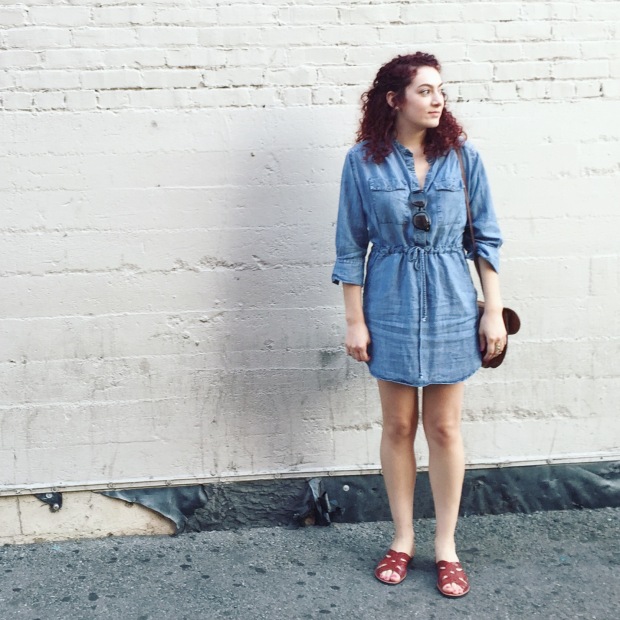
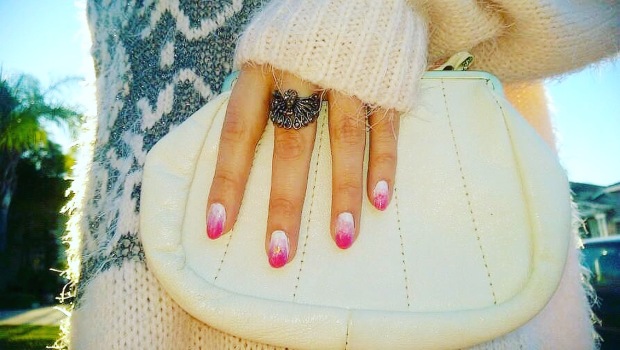
The shades I wore here are cute, but not solar eclipse appropriate. The brand is Circus by Sam Edelman. I actually found them at Ross for a steal!  The purse is Betsyville by Betsy Johnson.

IMG_1927

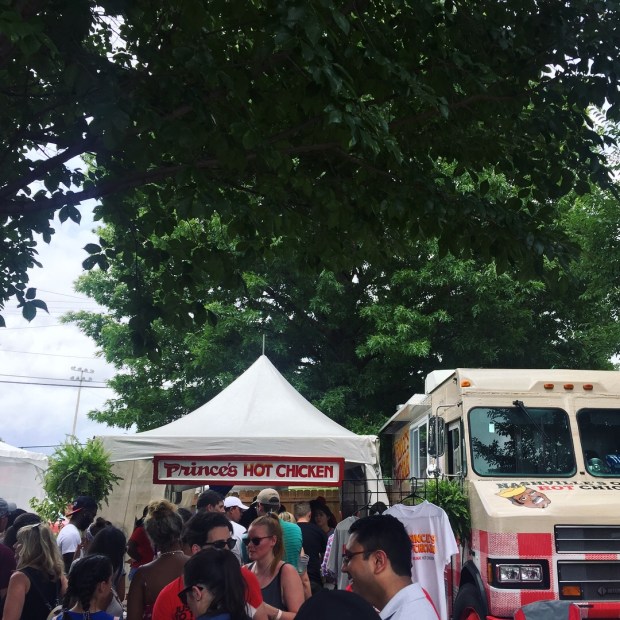
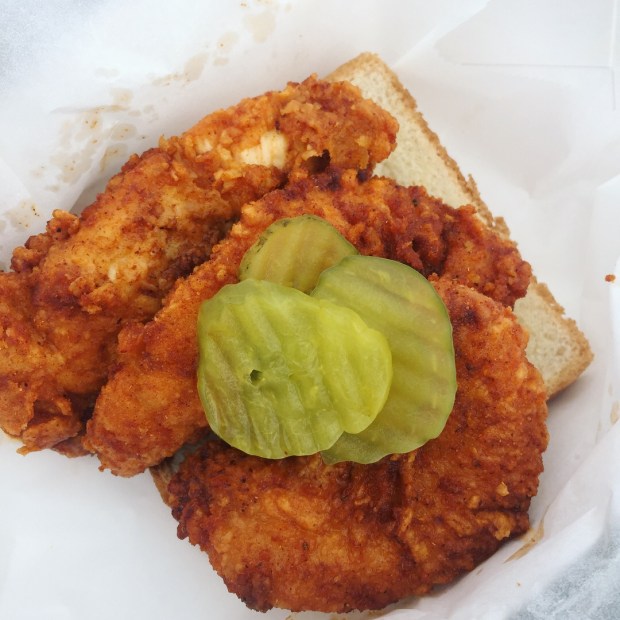
I got to go to the Nashville hot chicken festival.  Prince’s hot chicken was hands down the best! 🍗🔥

IMG_1928

IMG_1926

IMG_1899

The view of the fireworks from the river.

Hope you have a fun and safe solar eclipse weekend!  Remember to hydrate and wear sunscreen because I’m sure it’ll be a scorcher. 🔥


XOXO

Follow me on Instagram!

Instagram

– ♥ ♥ ♥ –

OOTD | Pink Blush and Olive Green – California Casual

The weekends are made for relaxing and unwinding. 😎 At least that’s my motto.

A couple of weekends ago I got to spend a lovely Sunday with my cousin. We walked around downtown Disney, had lunch at Earl of Sandwhich, and spent some time people watching.

Outfit legs crossed

My OOTD consisted of an olive green body suit and pink blush shorts.  Since it’s been so hot, I picked cotton materials to keep cool and comfy, and paired my outfit with a simple tassel choker and nude wedge slingbacks.

Necklace upclose

No Keia La, No Keia Po, A Mau Loa

From this day, from this night, forever more

Full outfit

Showing off my shorts

Olive green body suit and blush pink outfitTassel ChokerPink blush shorts

My cousin kept it simple with a short chambray cotton dress and sandals.

Cousin outfitCousin outfit

Hope you have a good weekend! 💕


XOXO

Follow me on Instagram!

Instagram

– ♥ ♥ ♥ –

OOTD | Pastel Mickey Mouse Inspired Outfit

Wohoo! It’s officially the weekend! Are you as excited as me? 😋 Lately I’ve found myself watching a lot of Disney YouTube videos.  Maybe it’s because I have such good memories of Disney but I find it super relaxing. I’ve really been into watching “Thingamavlogs“, “Magic Journeys, and more recently the “DSNY Newscast“.  Watching those videos reminds me of my adventures.  More specifically, Epcot’s annual Food and Wine Festival, which is hosted in late fall.  In my post EPCOT: How to drink around the [Disney] World | Orlando, Florida I gave out tips on how to prepare for your vacation. But another fun part of these trips is dressing the part!

IMG_0430

I like to be subtle but fun with my outfits when doing anything Disney.  It’s especially fun when you coordinate with whoever you’re going with.  This is more common with larger groups at Epcot.  You tend to see a lot of birthday, bachelor/bachelorette, or family groups coordinating their gear.

IMG_9407

From the shirt you can see that the main image of Mickey is on the back with a hidden Mickey on the front. I picked shorts and accessories to match the colors in the design. In this case it was hot pink and baby blue.

Mickey shirt

When you’re curious, you find lots of interesting things to do.

Walt Disney

There’s no reason you can’t display your Disney pride without being cheesy.  Disney is not just for kids you know. 😉 Have fun and make the most of your memories!

Epcot

Mickey ice cream

Hope this post helped inspire you. Let me know your thoughts below. What are your Disney tips?


XOXO

Follow me on Instagram!

Instagram

– ♥ ♥ ♥ –

OOTD | Spring Forward

Is it spring yet?!  The weather in California seems to be confused lately.  Some days are sweltering hot, while others are gloomy and chilly.  The weekend before last was one of those perfect California winter days though, with the weather right in between.

My cousin and I decided to dress up a bit.  It was her birthday and we were also celebrating Galentine’s Day.  She wore a blue jean dress while I wore a floral winged romper.

OOTD Pasadena

She dressed up her outfit with a vintage purse, a thrift store find, and handmade sandals from Mexico.

I wore my Lucky Brand studded gladiator sandals and small tan Marc Jacobs cross body purse.

We had a great time exploring Old Town Pasadena and ate to our heart’s content.  Check out my previous post to see what we were up to.


A wise girl knows her limits, a smart girl knows she has none. – Marilyn Monroe


Blue Jean Dress and AccessoriesBlue Jean Dress OutfitimageFloral Romper Outfit and AccessoriesFloral RomperFloral Romper and Purse


XOXO

Follow me on Instagram!

Instagram

DIY | Ombre Nail Tutorial

Happy Thursday Lovlies! I’m so excited to bring you this DIY ombré nail tutorial designed by my cousin, just in time for Valentine’s day. 💕  My cousin describes this look as a Lana del Rey inspired edgy romantic style.  Cue “Young and Beautiful“, this beautiful ombré effect is so simple to do!  The look is meant to be a little messy which makes the application that much easier.  The gradient pink of this DIY helps to draw attention towards the tip of the nails, without being overly dramatic.  Oh, and did you notice the little gold heart detail?  A little detail that others can’t notice from afar, but you’ll know, since it’s a heart just for you.  😘

DIY Ombré nail tutorial

Pair this nail style with something comfy but cute.  Our #OOTD is a pale pink romantic sweater paired with jeggings and combat boots, to add a edgy vibe.  A simple white clutch completes this look with a pair of rings.


DIY | Ombre Nail Design


What you’ll need

  • White nail polish
  • Two shades of pink nail polish (One brighter than the other)
  • Gold nail polish
  • Eye-shadow sponge
  • Small piece of aluminum foil
  • Nail art dotting tool
  • Nail polish remover
  • Q-tips

How to

  1. Start with the white nail polish to set the base for your design.  Apply two thin coats and allow to completely dry before moving to Step 2.
  2. Apply a drop of the lighter pink polish on a piece of aluminum foil.
  3. Dab your sponge in the polish from Step 2 and sponge on (lightly stippling) to cover 3/4 of your nail, starting from the tip; let completely dry before moving on to Step 4.
  4. Using the same technique from Steps 2 & 3 apply the brightest shade of pink polish to 1/4 of the nail, starting from the tip, adding color until you build the desired intensity.  Allow to completely dry.  You can either stop here and skip to Step 6 or add the heart design.
  5. Heart Design: Using the dotting tool, add two dots of the gold nail polish side by side leaving a small space in between.  Drag the two dots downward at an angle, connecting each end to form a heart.
  6. Use a q-tip soaked in nail polish remover to remove excess polish.
  7. Seal the design with a clear top coat.
  8. Repeat on the rest of your nails.

Tips

  • Start with clean nails.
  • Do one hand at a time.
  • In order to avoid muddy colors, allow the polish to completely dry before moving to the next step.
  • Dampen the sponge with water to avoid over saturation.  This also helps for smoother application.
  • In order to avoid making a mess, dot the nail polish on aluminum foil or a wax plate instead of paper.  Nail polish will soak through paper and could potentially leave a mess.
  • Don’t have a dotting tool?  Make your own by sticking a pin in the eraser end of a pencil.
  • For the heart design, work quickly to make your connecting lines before the dots dry.

XOXO

Follow me on Instagram!

Instagram